


How To Change Grout Color Using A Stain

Quick Summary
Changing grout color with a stain is often faster and less expensive than replacing grout entirely. The process can refresh outdated tile surfaces, improve stain resistance, and dramatically change the overall appearance of a room when done with proper prep and application.
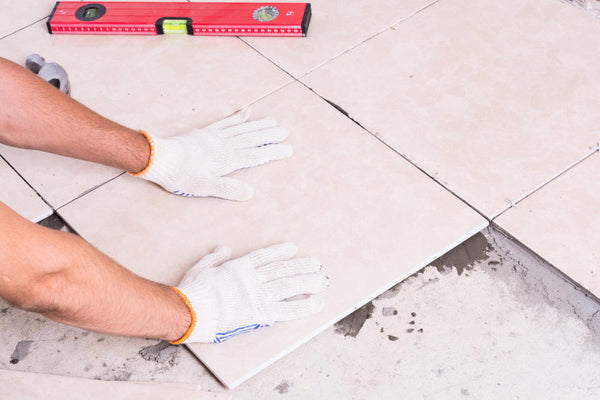
Old grout makes even beautiful tile look tired. Years of dirt, spills, and harsh cleaners can leave grout lines discolored or simply a shade you no longer like. Tearing out and replacing grout is a messy job that often requires a professional. A grout color stain offers a simpler way to refresh the look of your tile without replacing the tile itself.
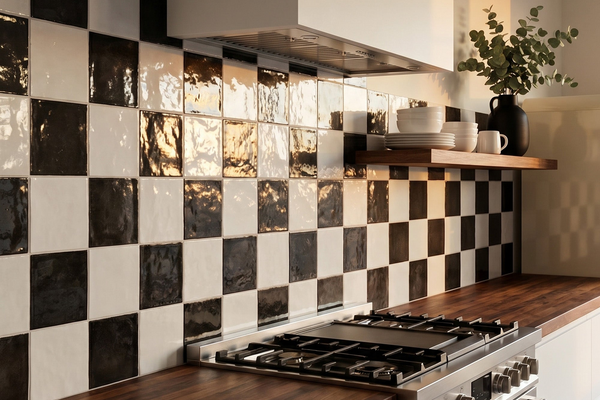
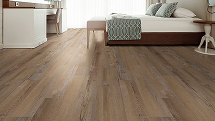
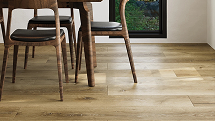
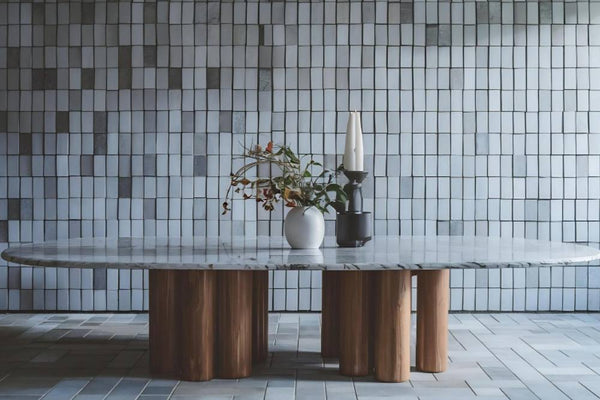
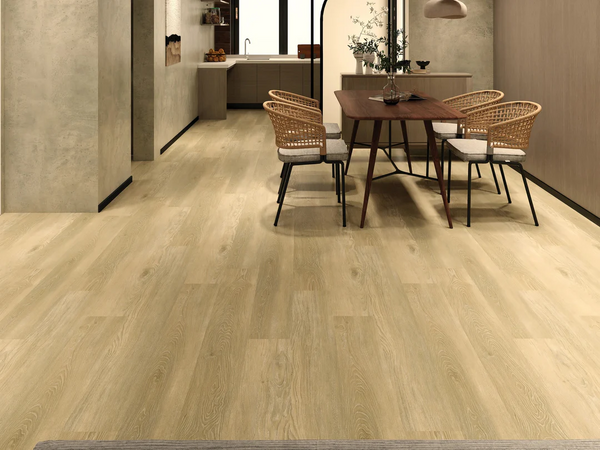
At Tile Mart, our tile collections include everything from warm terracotta tiles to sleek glass tiles, and the right grout shade helps tie the whole look together.

Why Staining Beats Regrouting and When It Works Best
Regrouting can become expensive once you add labor, prep, cleanup, and repair work. Staining, by contrast, is usually more affordable because it refreshes the existing grout instead of removing it. Most projects require a grout colorant or stain, a stiff brush, cleaner, and a small applicator.
Staining can also help protect your grout. Many grout color products include a built-in sealer that helps resist moisture and staining better than untreated grout. You get a color refresh and added protection in one project.
Staining works best when your grout is structurally solid but looks bad. If the grout has faded, developed stubborn stains, or feels outdated, stain can help deliver a dramatic visual change. It can also allow you to change color, such as moving from light grout to dark charcoal or from beige to warm taupe.
There are limits. Grout dyes may not bond properly to epoxy or urethane grout. They can also fail on grout that has been sealed or contaminated with soap residue. If your grout is sealed, you may need to strip the sealer first. Going from dark to light is also more difficult and may require multiple coats. If the grout is cracked or crumbling, staining will not fix the structural damage. Repair those areas before staining.
Choosing the Right Grout Stain
Most products fall into two categories: dye-based stains that penetrate the grout and color sealers that coat the surface.
Dye-based products bond into the grout and can create a more natural look. Color sealers sit on top and form a protective layer. They are often easier to apply and can improve stain resistance, but they may not perform equally well in every high-moisture setting. Always follow the product label for surface compatibility, cure time, and wet-area use.
Match the product to your tile. Glazed ceramic tiles are usually more forgiving because excess stain wipes off the slick surface more easily. Unglazed or porous materials, including some natural stone tiles, can absorb stain quickly, so you need to work carefully or tape off the tile edges. With porcelain tiles, stain cleanup is often easier because porcelain is dense and less absorbent than many other materials.

Step-by-Step: Applying Grout Color Stain
Here is the full process, made simple so you can tackle it with confidence.
Step 1: Deep Clean the Grout
This is the step people skip most often, and it is the top reason for uneven, peeling color. Dirt and old cleaning residue block the stain from soaking in. Use a pH-neutral grout cleaner or a baking soda paste. Scrub every line with a stiff nylon brush. Avoid steel wool, which can scratch the grout or tile surface. Rinse the area thoroughly with clean water and a sponge until no cleaner residue remains.
Step 2: Let the Grout Dry Completely
Moisture stops the stain from absorbing correctly. After cleaning, wait at least 24 hours before staining. In humid bathrooms, give it more time. If the grout still feels cool to the touch, it may still hold moisture. New grout must cure before staining, so always check the stain product label for exact timing.
Step 3: Test a Small Hidden Spot
Apply the stain to a spot behind a door, under a cabinet, or in another low-visibility area first. Let it dry completely and check the color. Stains often look different after they cure. If the color flakes off after drying, your grout may be sealed, dirty, or not compatible with the product.
Step 4: Apply the Stain in Small Sections
Work in small sections. Use a small stiff brush, an old toothbrush, or a grout applicator bottle. Paint the stain directly onto the grout lines in thin, even coats, working it in gently without flooding the tile. If stain gets on the tile surface, wipe it away quickly with a damp cloth before it dries.
If you are going from very light to very dark, you may need a second coat. Follow the product instructions for dry time between coats.
Step 5: Wipe Off Excess
After the stain has set for the time listed on the bottle, use a clean damp sponge to gently wipe residue off the tile surfaces. Rinse the sponge often and work carefully. This step helps create a cleaner, more professional-looking finish.
Step 6: Seal and Let It Cure
Many stains include a sealer. If yours does not, apply a clear grout sealer after the stain has cured, if the product recommends it. The sealer helps protect the color, repel moisture, and make future cleaning easier. Avoid exposing the surface to water too soon, and follow the product’s cure-time instructions before scrubbing or heavy use.
Common Mistakes to Avoid
Watch out for these easy-to-fix issues:
- Rushing the cleaning step. Staining over dirty grout causes peeling and patchy color.
- Applying stain to damp grout. Even slight moisture can block absorption.
- Using worn-out applicators. A small stiff brush gives you better control than a sponge or mop.
- Skipping the test patch. Colors can look different on your actual grout than they do on the bottle.
- Forgetting to seal when needed. Without protection, stained grout can start absorbing spills again, especially in kitchens and bathrooms.

Caring for Newly Stained Grout
Once your grout is stained and sealed, regular care keeps it fresh. Use a pH-neutral cleaner for weekly cleaning. Harsh acidic or bleach-based cleaners can break down the stain and sealer over time. A soft brush or microfiber mop handles routine maintenance without scratching.
Plan to reseal your grout based on the product instructions, room use, and moisture exposure. High-traffic areas and wet zones may need more frequent attention than low-traffic walls or dry areas. With consistent care, a properly applied grout color stain can keep floor tiles, wall tiles, and backsplash tiles looking cleaner and more updated for years.
A classic subway tile backsplash with freshly stained dark grout can go from dated to more intentional in a single project. It is one of the simplest ways to refresh a kitchen or bathroom without replacing the tile.
Shop Tile for Grout-Friendly Projects at Tile Mart
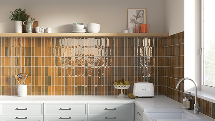
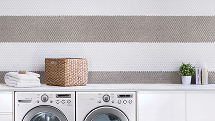
Browse Tile Mart’s subway tiles, backsplash tiles, bathroom tiles, shower tiles, ceramic tiles, porcelain tiles, and mosaic tiles to compare materials, finishes, and grout-line patterns before starting your next project.
FAQs
Can I use grout stain on a shower floor?
Yes, but choose a product rated for wet areas and make sure the grout is completely dry before you start. Shower floors take more moisture and foot traffic than walls, so follow the product’s sealing and cure-time instructions carefully.
Will grout stain cover mold and mildew stains?
Grout stain can cover discoloration left behind after cleaning, but it will not kill active mold. Treat any mold with an appropriate cleaner first, let the grout dry thoroughly, and then apply the stain.
Can I change grout color from dark to light?
It is possible, but it is harder than going from light to dark. You may need multiple thin coats to build up coverage. Results can look uneven if the original grout is very dark. For a dramatic lightening, replacing the grout may give more reliable results.
How long does the whole process take?
For a standard bathroom floor or backsplash, expect the project to take at least a full day when you include deep cleaning, drying time, staining, wiping, and cure time. Larger floors or wet areas may take longer.


