

How To Install Hexagon Tile On A Wall: A Step-By-Step Guide

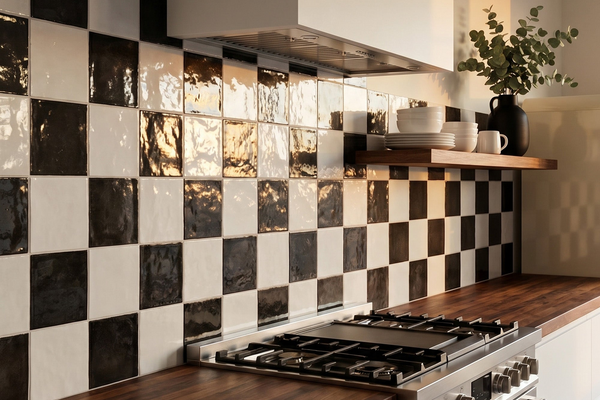
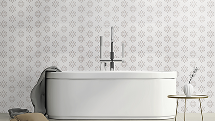
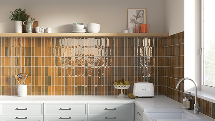
Installing hexagon tile on wall can instantly transform a space, adding a modern and stylish touch to any room. If you're looking to update a bathroom, kitchen, or even an accent wall, the geometric design of hexagonal tiles can create a visually appealing and dynamic effect.
However, before you jump into the installation process, it's important to understand the necessary steps and tools required to ensure a smooth and successful installation.
In this article, we’ll break down each step of the installation process so you can achieve professional-looking results. With this guide, you'll be able to confidently install your wall tiles and enhance the beauty of your space.
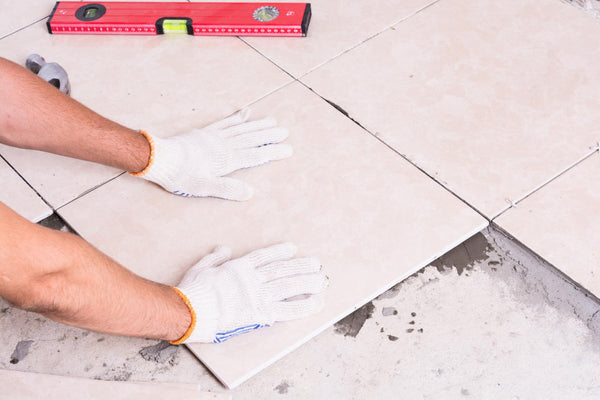
Step One: Prepare the Wall Surface
The first step in installing wall tile hexagon is to make sure the surface you're tiling is clean, smooth, and dry. A well-prepared wall is important for a successful installation. Begin by removing any old tile, paint, or wallpaper from the wall. If there’s any existing adhesive or grout, scrape it off and clean the area thoroughly.
Next, use a leveling tool to ensure the wall is even. If you notice any areas where the wall is uneven, use a wall filler to patch up imperfections and sand them smooth once the filler has dried. This step will help the tiles adhere properly and give you a smoother finish once the tiles are installed.
Step Two: Measure and Mark the Wall
Once the wall is prepped, you’ll need to measure and mark where your tiles will be placed. Use a pencil and a level to draw a vertical and horizontal reference line at the center of the wall. This will help you position the tiles symmetrically and keep the layout balanced.
If you're installing hexagon tile on a wall in a specific pattern, like a honeycomb or staggered design, make sure to dry-fit a few tiles on the floor or against the wall first to get a feel for how the pattern will look. This step will also help you determine if you need to cut any tiles to fit the edges of the wall.
Step Three: Apply Thin-Set Mortar
Now it’s time to apply the adhesive. For wall tiles, thin-set mortar is typically the best option as it’s specifically designed to hold tiles in place. Use a notched trowel to spread a thin layer of mortar over a small section of the wall. You don’t want to cover too large an area at once, as the mortar can begin to dry before you get a chance to set the tiles.
Hold the trowel at a 45-degree angle to form ridges within the mortar. These ridges will help ensure that your tiles stick securely to the wall. Start from the center and work your way outward to avoid trapping air pockets behind the tiles, which could cause them to shift or not adhere properly.
Step Four: Install the Hexagon Tiles
Now it’s time to install the hexagon tile on the wall. Begin placing your tiles at the center of the wall, pressing every tile firmly into the mortar. If you’ve dry-fit the tiles, you should already know where they’ll go, so you can start working quickly. Press each tile down and give it a slight twist to ensure it's securely bonded with the mortar.
Hexagon tiles often come with built-in spacers, but if yours don’t, make sure to use tile spacers to ensure even gaps between each tile. The consistent spacing is especially important in wall tile hexagon installations, as the geometric pattern relies on precise alignment to look cohesive.
Continue working outward, row by row, until you’ve covered the entire wall. If you reach the edges and need to cut tiles to fit, measure and mark the necessary dimensions with a tile cutter. Be sure to use safety goggles and gloves while cutting tiles to avoid injury.
Step Five: Let the Mortar Set
Once all the tiles are installed, allow the mortar to set for at least 24 hours. During this time, avoid disturbing the tiles to give the mortar ample time to cure and bond. The setting time can vary depending on the brand of mortar and the humidity levels in the room, so be sure to follow the instructions on your mortar’s packaging.
While waiting, avoid placing heavy objects or leaning against the wall, as this can cause the tiles to shift out of alignment.
Step Six: Grout the Tiles
After the mortar has set, it’s time to grout the hexagon tile on the wall. Grouting is an important step that fills the gaps between tiles, giving the installation a finished, polished look. Use a rubber grout float to apply the grout over the surface, pushing it into the spaces in between the tiles. Make sure to work the grout into the joints to fill all gaps completely.
Once the grout has been applied, use a damp sponge to wipe away the excess. Be careful not to remove too much grout from the joints. Rinse the sponge frequently and work in small sections to avoid the grout drying before you can clean it off.
Allow the grout to dry for about 24 hours, and then polish the tiles with a soft cloth to remove any grout haze.
Step Seven: Seal the Tiles
After the grout has dried, it’s important to seal both the tiles and grout to protect your wall tile hexagon installation from moisture and stains. Use a marble and tile sealer that’s suitable for your type of tile. Apply a thin layer of sealer with a clean cloth, making sure to cover both the tiles and the grout lines evenly.
Allow the sealer to dry completely before using the wall. This step will help ensure that your new hexagon tile wall remains beautiful and protected for years to come.
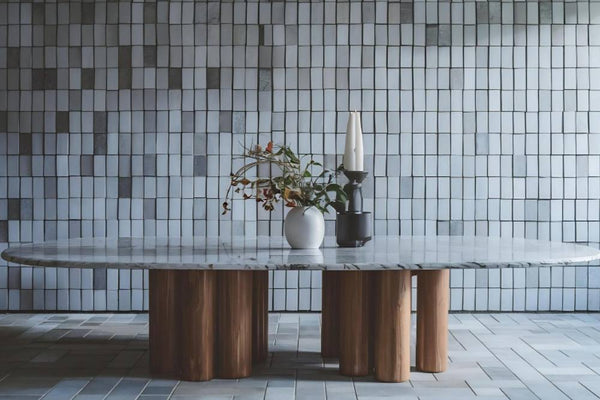
Create a Stunning Space with Hexagon Wall Tiles from Tile Mart
Installing hexagon tile on the wall can be a fun and rewarding project, and at Tile Mart, we make it easy for you to find the perfect tiles for your space. Our wide selection of hexagon tiles comes in a variety of materials, colors, and finishes, allowing you to create the look you’ve always wanted.
With flat-rate shipping, a sample program to help you decide, and discounts for trade professionals, Tile Mart is your go-to source for quality tile products. Explore our collection of hexagon tiles and start your next project today.


