


How To Install Edge Tile Trim Like A Pro
Installing edge tile trim is a great way to add a professional finish to your tile project. If you are working on a backsplash, bathroom, or any other tile installation, using edge trim gives the tiles a clean and polished look. Learn how to install edge tile trim, including metal trims and tile borders for the floor, for that sleek and durable finish.

Preparing for Tile Edge Trim Installation
Before beginning, it is important to prepare both your tools and workspace. The first step is measuring the area where you want to install the edge trim. Proper measurements will make the trim fit perfectly along the edges of your tiles. It is also important to gather the right tools, such as a tile cutter, adhesive, and tile spacers, to make the process smoother and more accurate.
Once the area is measured, cut the edge trim to size using a tile cutter or metal shears. For metal edge trim, use a hacksaw or a metal cutter to achieve precise cuts. A clean, well-prepared workspace will set you up for a successful installation.
Choosing the Right Tile Edge Trim
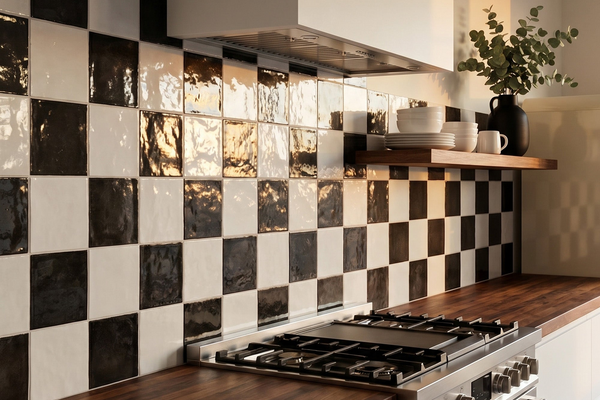
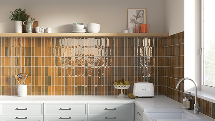
There are different types of tile edge trims available, and selecting the right one is a must for both function and style. For instance, metal edge trims offer durability and a modern look, making them ideal for both kitchen backsplashes and bathroom walls. When selecting metal edge trim for tile, make sure to choose the finish that complements the style of your tiles.
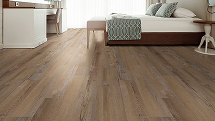
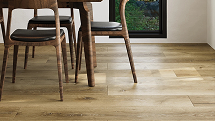
For a more decorative edge, consider using porcelain or ceramic trims that match your tiles. These options are perfect for adding a subtle, refined finish without drawing too much attention. Ultimately, choosing the right tile edge trim will depend on the aesthetic you want to achieve and the area being tiled.
How to Install Metal Edge Trim for Tile
When installing metal edge trim for tile, the process is slightly different from using standard plastic trims. Start by applying the tile adhesive along the edge of the wall or floor where the trim will be placed.
Gently press the metal trim into the adhesive, making sure it aligns with the tiles for a uniform finish. Use a level to check that the trim is perfectly straight.
Next, secure the metal trim by adding more adhesive around the edges and tapping it lightly with a rubber mallet to check that it is firmly in place. The metal trim should sit snugly between the tiles, providing a polished border without any gaps.
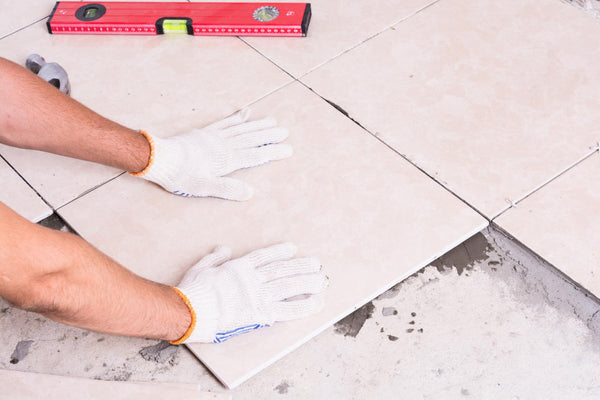
How to Install Tile Border on Floor
Installing tile borders on the floor requires extra attention to detail, especially if you are working with heavy tiles. Begin by applying adhesive to the edge of the floor where you intend to place the border. Position the tiles and trim along the edge, focusing on an even spacing between the tiles and trim.
Once all the tiles are in place, allow the adhesive to set and cure properly before applying grout. The tile border on the floor should create a seamless transition between the tiles and the surrounding floor, adding an elegant touch to the overall design.
Grouting Around the Tile Edge Trim
Once the adhesive has fully set and the tiles are secured in place, it is time to apply the grout. Grouting around the tile edge trim should be done carefully to avoid getting grout on the trim itself. Use a rubber float to press the grout into the spaces between the tiles, being cautious around the trim to maintain a clean finish.
After the grout has been applied, clean the surface with a damp sponge to remove any excess grout. Wipe the trim with a soft cloth to prevent any grout residue from sticking to the metal or other materials. Once the grout has cured, your edge trim will have a finished, polished appearance.

Sealing and Finishing Touches
After the grout has fully dried, you may choose to apply a sealant around the edge trim to protect it from moisture and stains. This is especially important in areas like kitchens and bathrooms where water exposure is common.
Use a clear sealant to avoid altering the appearance of the trim, while providing a protective layer that will keep your tiles and trim looking new for longer.
Finally, inspect the edge trim installation to make sure everything is level, aligned, and securely in place. Once everything looks perfect, your tile installation will have a professional, well-finished appearance that lasts.
Bring Your Tile Installation to Life with Surface Trim
Now that you know how to install edge tile trim like a pro, you can confidently tackle your next tiling project. Tile Mart offers a wide range of surface trim options that can enhance the beauty and durability of your tiles. From modern metal trims to classic ceramic borders, we have the perfect selection for your needs.
Ready to get started? Shop our collection today and take your tile installation to the next level. Contact us if you need any assistance or have questions about choosing the right trim for your project.


