


Pool Tile Installation: What Homeowners Need to Know
Choosing tile for your pool is just the beginning. The steps that follow, including surface prep, layout planning, and proper material selection, play a big role in how the finished pool looks and performs. A successful pool tiles installation supports both the appearance and longevity of the surface.
Understanding each stage of the process helps you avoid costly errors and create a pool that stays beautiful and functional. With the right approach, installation also supports safety, comfort, and easier maintenance down the road.
Prepare the Surface First
Before anything else, clean the pool wall or floor thoroughly. Remove any grease, old adhesive, or loose particles. You can use a stiff brush or a pressure washer. This step creates a firm base for the adhesive to grip.
If old tiles exist, remove them carefully with a chisel and hammer. The smoother the base, the better the tile holds over time.
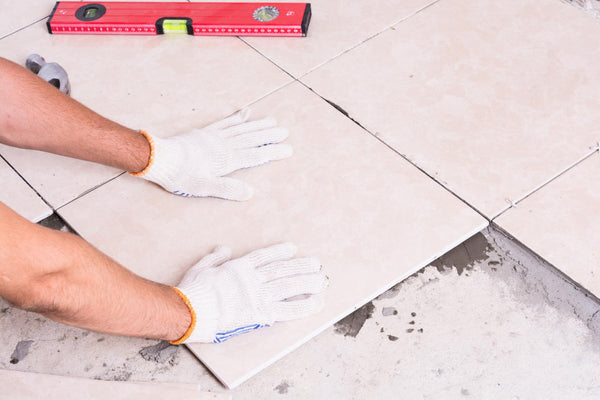
Map Out the Layout
Dry-fit your tiles before you apply any adhesive. Start in the center or at a natural focal point of the pool. Work outward to keep things balanced. This also lets you see if the pattern needs adjusting before anything becomes permanent.
Use chalk lines or a level to mark rows. Square tiles work well in clean patterns and are easy to align.
Use the Right Adhesive and Tools
Select a thin-set mortar rated for underwater use. Apply it in small sections using a notched trowel. Holding the trowel at a 45-degree angle creates grooves, giving each tile a better grip.
Press the tiles firmly into place with a slight twist to improve contact. Use spacers between tiles for even joints, then allow everything to set for at least 24 hours before moving forward.
Grout With Care
Once the adhesive has set, take out the spacers and mix your grout. Use a rubber float to press the grout into the spaces between tiles. Hold the float at an angle and apply steady pressure to fill all the joints.
After 15 to 20 minutes, wipe off excess grout using a damp sponge. Rinse the sponge frequently to prevent haze from forming on the tile surface.
Clean, Seal, and Inspect
Allow the grout to cure fully based on the product instructions. If your pool uses saltwater, consider applying a grout sealer for extra protection.
Once the grout is dry, inspect the entire installation. Check for loose tiles, uneven edges, or hollow spots. Early corrections help prevent more serious repairs later.
Monitor the tile work for the first several days. If you notice any shifting or cracks, make touch-ups quickly to protect the finish.
DIY Safety Tips for Pool Tile Installation
Use safety gear when cutting tile. Gloves and goggles help protect against sharp edges and debris. A wet saw or tile cutter creates clean cuts and reduces tile waste. Choose a time with mild, dry weather for best results, as moisture or extreme heat can interfere with setting times. Always follow the product instructions closely.
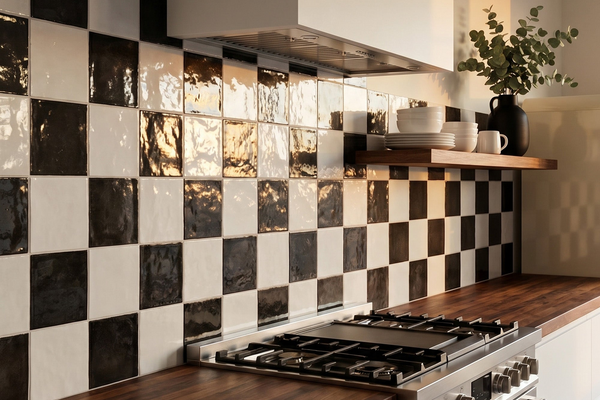
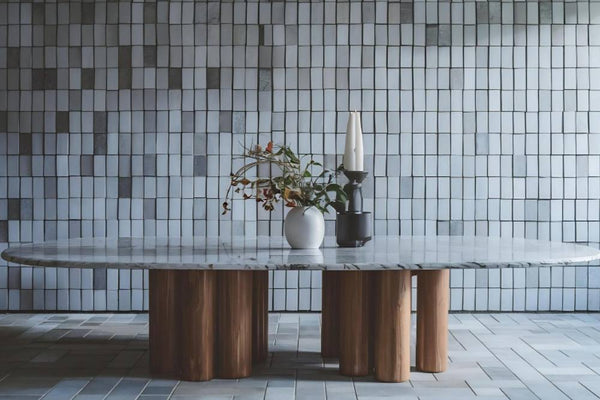
For high-traffic pools, select tiles with texture to reduce slips. Glass, mosaic, and other tile styles can also add personality without losing function.

Looking To Start Your Project?
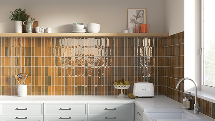
At Tile Mart, we carry a wide selection of square and mosaic tiles built for durability and visual impact. Our square tiles work great for pool walls and floors. With easy access to trending styles and durable materials, we help make pool tile installation simple and budget-friendly.


