


Step-by-Step Guide to Tile Your Bathroom Floor Like a Pro

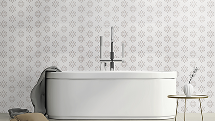
Have you ever stepped into a bathroom and felt like royalty? That sensation might have less to do with the size of the room and more with its foundation—specifically, the tile your bathroom floor. Yes, it's true. The ground beneath our feet can transform a mere washroom into a sanctuary.
Yet, here we are. You're thinking about giving your own space that majestic feel. Embarking on this journey to transform your space can feel like a monumental task, right? But fear not. Laying tiles isn't just for seasoned craftsmen anymore. With innovation at every turn in today's DIY world, anyone armed with the right info (and maybe a tile cutter) can embark on this journey.
The options are endless: ceramic or porcelain; glossy or matte; big slabs or tiny mosaics. Every choice paints a stroke in what will become your masterpiece—or mess if things go sideways! And while no one expects their first pancake to be perfect, who says you can’t nail it on your first try?
Table Of Contents:
- Selecting the Perfect Tiles for Your Bathroom Floor
- Understanding Different Types of Tiles
- How to Choose the Right Tile Material
- Creating Interest with Tile Shapes
- Preparing Your Bathroom for Tiling
- Finalizing Your Bathroom Tile Project
- Grouting Your Tiles
- Applying Sealant to Protect Your Floor
- Conclusion

Selecting the Perfect Tiles for Your Bathroom Floor
Choosing the right bathroom floor tile is a big decision. But don't stress, we've got you covered.
In this guide, you'll discover how to pick the perfect tiles for your bathroom floor. Let's dive into the world of tile materials and shapes to spice up your space.
Understanding Different Types of Tiles
When it comes to bathroom tiles, you've got options. Lots of them.
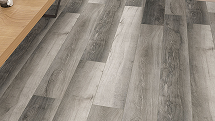
The most popular types are ceramic, porcelain, and natural stone. Every single one boasts a distinctive appearance and texture, setting them apart.
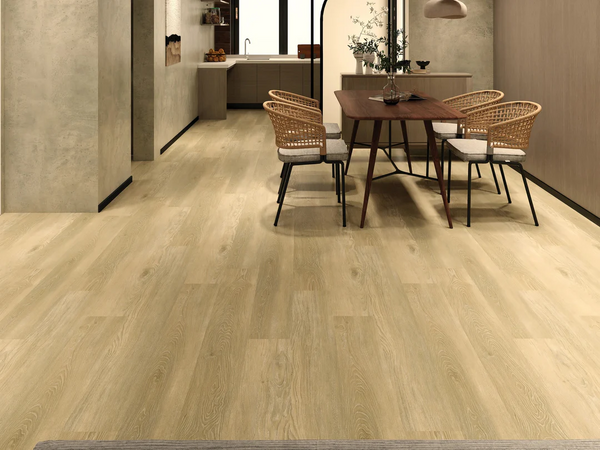
Ceramic tiles are a classic choice. They're durable, easy to clean, and come in a wide range of colors and patterns.
Porcelain tiles are similar to ceramic but even more hard-wearing. They're perfect for high-traffic bathrooms.
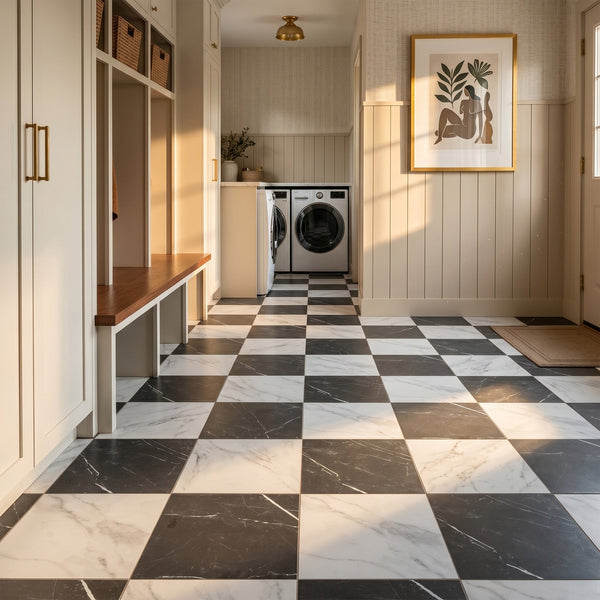
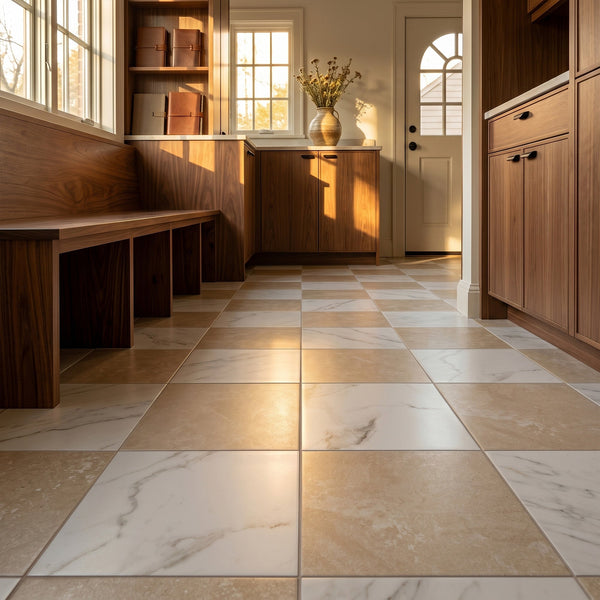
Natural stone tiles like marble, travertine, and slate add a luxurious touch. Just keep in mind they require more maintenance than ceramic or porcelain.
How to Choose the Right Tile Material
So, how do you decide which material is right for your bathroom? Consider your lifestyle and budget.
If you have a busy household with kids or pets, porcelain tiles are a smart choice. Porcelain tiles are nearly unbreakable, standing up well to stains and scratches, making them ideal for a bustling home.
If you're dreaming of a spa-like retreat, natural stone tiles can help you achieve that look. Just be prepared for a bit more upkeep.
On a tight budget? Ceramic tiles are a cost-effective option that doesn't sacrifice style.
Creating Interest with Tile Shapes
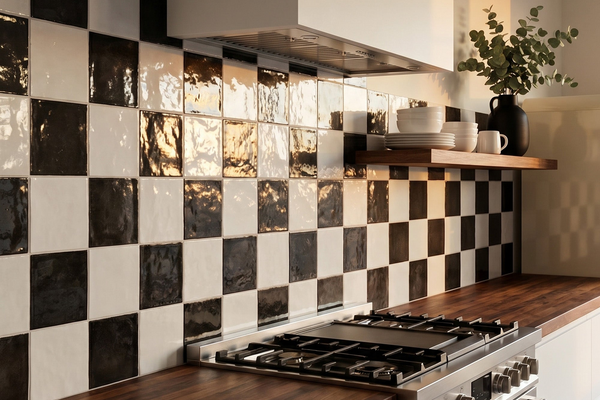
Once you've settled on a material, it's time to think about shape. Square tiles are a timeless choice, but why not mix things up?
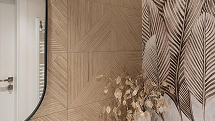
Hexagon tiles are having a moment right now. Hexagon tiles introduce a whimsical, geometric flair to your bathroom's design.
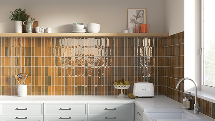
Subway tiles are another popular pick. Arrange them in a herringbone pattern for a fresh twist on a classic look.
Don't be afraid to get creative with your tile shapes. Mix and match different sizes and patterns to create a one-of-a-kind floor tile design.
Preparing Your Bathroom for Tiling
You've picked out your perfect bathroom floor tiles. Now it's time to get your space ready for installation.
Proper preparation is key to a successful tiling project. Skip this step and you could end up with uneven tiles or even water damage down the line.
Key Takeaway:
Picking the right bathroom floor tile is easy with our guide. Explore ceramic, porcelain, and natural stone to match your style and budget. Get creative with shapes like hexagons or subway tiles for a unique look.
Finalizing Your Bathroom Tile Project
You're finally on the last lap of your bathroom tile adventure. It's time to put the finishing touches on your bathroom tile project.
This is where things get real, and your vision comes to life. Let's dive in.
Grouting Your Tiles
Grout is like the icing on the cake. It's what pulls everything together and makes your tile look finished.
But before you start spreading that grout around, make sure you've got the right tools for the job. You'll need a grout float, a sponge, and a bucket of water.
Mix your grout according to the manufacturer's instructions. Then, using your grout float, spread the grout over the tiles at a 45-degree angle. Make sure you fill in all the grout joints.
Once you've covered the entire area, use your sponge to wipe away the excess grout. Rinse your sponge frequently in the bucket of water to keep it clean.
Let the grout dry for about 15-30 minutes, then use a clean, damp sponge to wipe away any remaining haze. And voila. Your tiles are grouted.
Applying Sealant to Protect Your Floor
Now that your grout is dry, it's time to apply sealer. By sealing your grout, you're essentially shielding it from potential stains and simplifying the cleaning process.
Choose a sealer that's appropriate for your type of tile and grout. Some sealers can be applied with a spray bottle, while others require a brush or roller.
Apply the sealer according to the manufacturer's instructions. Usually, this involves applying a thin, even coat over the entire surface.
Let the sealer dry completely before walking on the tile or using the bathroom. This can take anywhere from a few hours to a full day, depending on the type of sealer you use.
Once the sealer is dry, your bathroom tile project is officially complete. Pause for a moment and bask in the glory of your creation. You did it.
Remember, tile is a durable and long-lasting material, but it does require some maintenance to keep it looking its best. Regular cleaning and occasional resealing will help your tile stay beautiful for years to come.
So go ahead and enjoy your newly tiled bathroom. You've earned it.
Key Takeaway:
Grout and seal your tiles to wrap up the project. Use the right tools for grouting, let it dry, then apply sealer to protect your floor. Regular maintenance keeps it looking great.

Conclusion
So there you have it. Transforming your bathroom with a fresh tile job isn't just for the pros anymore. It's for anyone who dares to dream of stepping into their own slice of paradise every morning. And let’s be real, choosing to tile your bathroom floor is akin to donning a cape and declaring yourself the hero in your home improvement saga.
We’ve waded through the sea of choices together - from ceramic wonders to porcelain marvels, all while juggling tools like seasoned circus performers. We plotted our course with precision, laying each tile as if setting down pieces of our very soul onto the floor.
This journey wasn’t just about slapping some tiles down; it was an act of transformation. A metamorphosis from mundane to magnificent, proving that with a little grit (and maybe grout), magic happens.
The beauty? This magic doesn’t demand capes or superpowers—just you, armed with knowledge and ready to make waves in your own bathroom oasis. So go ahead: let those tiles shine and show off what happens when determination meets inspiration.
To wrap it up, today wasn't merely about installing flooring; we intricately wove our aspirations into reality, one graceful stride at a time. That feeling of accomplishment? It’s yours – no Hollywood embellishment needed here because this time, you’re the star directing a masterpiece underfoot.


