


Beginner's Guide to Mastering the Herringbone Pattern

Introduction
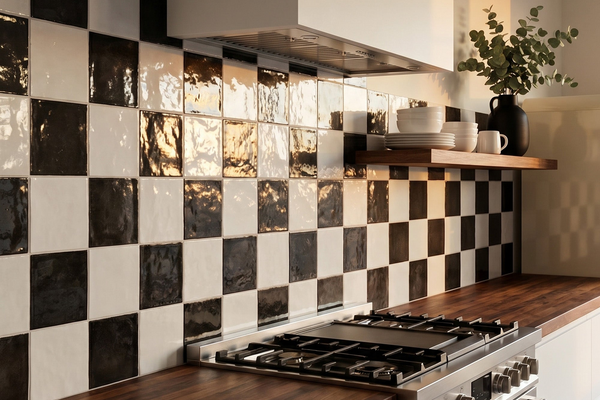
The herringbone tile pattern uses rectangular tiles placed at 90-degree angles to create a broken zigzag layout. It adds movement, texture, and a high-end look to backsplashes, bathrooms, kitchens, shower walls, floors, and accent areas. The best results come from choosing the right material, planning the layout carefully, and using an installer experienced with patterned tile.
Quick Answer
A herringbone pattern is created by laying rectangular tiles in alternating directions so each tile meets the next at a 90-degree angle. The pattern works best with herringbone mosaic tiles, subway tile, marble mosaics, glass mosaics, porcelain tile, ceramic tile, and wood-look planks. It is more complex to install than a straight lay, but it creates a more detailed and custom look.
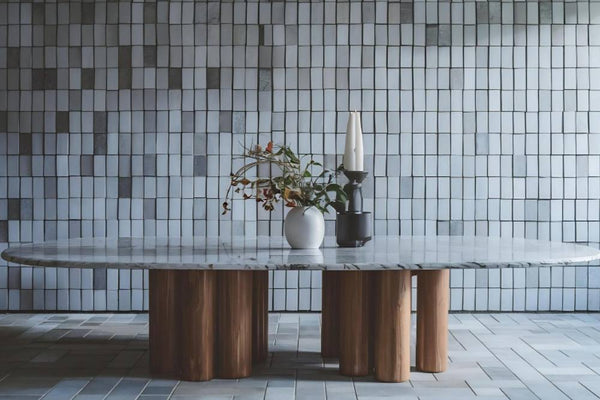
What Is a Herringbone Tile Pattern?
The herringbone pattern is a classic tile layout known for its staggered V-shaped design. Instead of lining tiles in straight rows, rectangular pieces are placed at right angles so the ends meet in an alternating zigzag. This creates movement across the surface without needing bold colors or oversized patterns.
Herringbone works with many materials, including ceramic tile, porcelain tile, marble tile, glass tile, and wood-look tile. It can feel traditional, modern, coastal, or luxurious depending on the tile material, grout color, and room application.

Why Herringbone Tile Works So Well
Herringbone adds visual interest without making a space feel too busy. The angled layout naturally guides the eye, which can make a backsplash feel more custom, a shower wall feel taller, or a floor feel more dynamic.
- Adds movement: The broken zigzag pattern gives walls and floors more dimension than a standard straight lay.
- Creates a high-end look: Even simple tile can feel more custom when installed in a herringbone layout.
- Works in many rooms: Use it for kitchen tiles, bathroom tiles, shower walls, fireplace surrounds, and entryway floors.
- Pairs well with simple colors: White, gray, beige, black, and marble-look tiles all work beautifully in herringbone.
- Fits both classic and modern spaces: The pattern is timeless, but the final look depends on the tile finish and grout choice.
Herringbone vs. Chevron Tile
Herringbone and chevron tile are often confused because both create a zigzag effect. The difference is in the tile shape and how the pieces meet.
|
Pattern |
How It Is Made |
Visual Effect |
Best For |
|
Herringbone |
Rectangular tiles meet at 90-degree angles |
Broken zigzag with classic movement |
Backsplashes, shower walls, floors, accent areas |
|
Chevron |
Tiles are cut at an angle so the ends meet in a point |
Clean continuous V-shape |
Modern walls, statement backsplashes, decorative features |
If you want a more classic and textured look, choose herringbone. If you want a sharper, more symmetrical V shape, choose chevron.

Best Materials for a Herringbone Pattern
Ceramic herringbone tile
Ceramic tile is a practical choice for herringbone backsplashes, shower walls, and decorative wall tile. It is available in many colors, finishes, and handmade-look styles. Ceramic is usually easier to cut than porcelain, which can help with detailed herringbone layouts.
Porcelain herringbone tile
Porcelain tile is dense, durable, and low-maintenance, making it a strong option for floors, showers, and high-traffic areas. Porcelain herringbone works especially well when you want a clean look with long-term performance.
Marble herringbone tile
Marble tile adds natural veining and luxury to the herringbone pattern. It is a beautiful choice for bathroom floors, shower walls, vanity walls, and fireplace surrounds. Marble requires sealing and more maintenance than ceramic or porcelain.
Glass herringbone tile
Glass tile creates a bright, reflective herringbone surface that works well for kitchen backsplashes, bathroom walls, and accent areas. It is especially effective when you want light reflection and a clean, polished look.

Where to Use Herringbone Tile
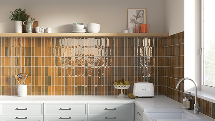
Kitchen backsplashes
A backsplash tile installation is one of the easiest places to use herringbone. White herringbone tile creates a clean, timeless look, while green, blue, gray, or black herringbone tile creates a stronger design statement.
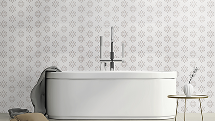
Bathroom walls and shower walls
Herringbone works beautifully on shower walls, vanity walls, and full bathroom feature walls. A vertical herringbone layout can make the space feel taller, while a horizontal layout can make a narrow wall feel wider.
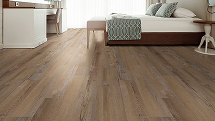
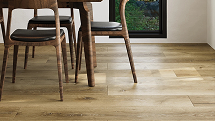
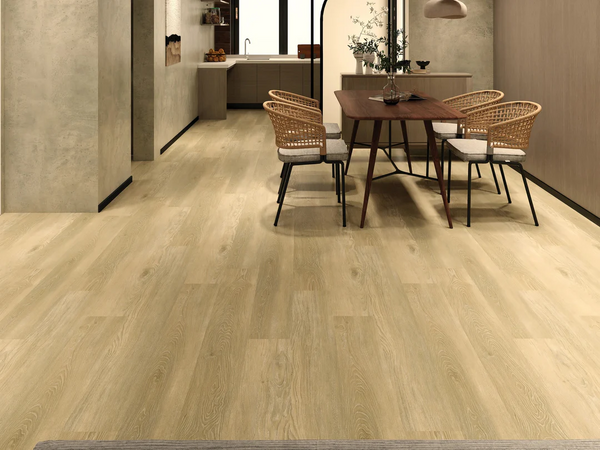
Floors and entryways
Herringbone floor tile creates a more custom look than a standard grid. For wet or high-traffic spaces, choose a tile rated for floor use and consider grout color carefully because the pattern creates more visible joints.
Fireplace surrounds and accent walls
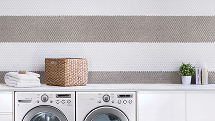
Herringbone also works well on fireplace surrounds, bar backsplashes, laundry room walls, and decorative niches. These smaller areas are ideal if you want the pattern without covering an entire room.
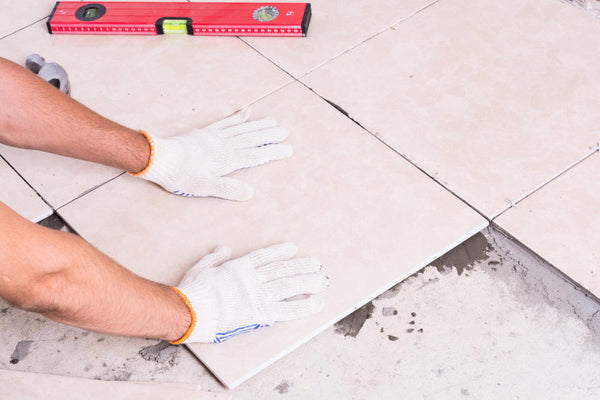
How to Plan a Herringbone Tile Layout
A herringbone layout takes more planning than a straight tile pattern. Before installation begins, measure the space, find the centerline, and decide where the pattern should start. This helps avoid awkward cuts along the most visible edges.
- Find the centerline: Centering the pattern usually creates the most balanced look.
- Dry lay the tile first: This helps you preview cuts, spacing, and pattern direction.
- Plan for extra waste: Herringbone layouts require more angled cuts than straight layouts.
- Choose grout early: Matching grout softens the pattern, while contrasting grout makes the zigzag more visible.
- Use an experienced installer: The angled layout makes alignment and cutting more important.
Shop Herringbone Tile
Explore Tile Mart’s herringbone mosaic tile collection for kitchen backsplashes, bathroom walls, shower features, floors, and accent areas. Compare marble, glass, porcelain, and ceramic herringbone styles before choosing the right look for your project.
Installation Tips for Herringbone Tile
Herringbone installation requires precise spacing, clean cuts, and consistent alignment. Small mistakes can become noticeable because the pattern repeats across the entire surface.
Use the right tools
Most tile herringbone projects require a tile cutter or wet saw, spacers, a level, a trowel, thinset mortar, grout, and a measuring tape. Natural stone and porcelain may require more specialized cutting tools than standard ceramic tile.
Start with a clear layout line
A laser level or chalk line can help keep the pattern straight. This is especially important for backsplashes and shower walls where the eye follows the pattern closely.
Work in small sections
Do not spread too much thinset at once. Herringbone layouts take time to adjust, and working in small sections helps keep the tile aligned before the mortar begins to set.
Check spacing often
Use spacers and step back frequently to check the pattern. Even small shifts can throw off the zigzag effect by the time you reach the edge of the wall or floor.
Common Mistakes to Avoid
- Skipping the dry layout: This can lead to awkward cuts and off-center patterns.
- Starting without a centerline: The finished layout may look uneven or pulled to one side.
- Choosing the wrong material for the room: Wall-only tile should not be used on floors unless it is rated for floor use.
- Using high-contrast grout with uneven spacing: Contrast grout highlights every joint, including mistakes.
- Underestimating waste: Herringbone patterns usually require more cuts than straight-lay tile.

Shop Herringbone Tile at Tile Mart
Explore Tile Mart’s herringbone mosaic tile collection for kitchen backsplashes, bathroom walls, shower features, floors, and accent areas. You can also browse related mosaic tiles, backsplash tiles, bathroom tiles, kitchen tiles, wall tiles, and floor tiles to find the right material and finish for your project.
Before committing to a full order, get samples to compare color, finish, grout contrast, and pattern scale in your own lighting.
Frequently Asked Questions
What is the best material for a herringbone pattern in high-traffic areas?
Porcelain tile is usually the best option for high-traffic herringbone floors because it is dense, durable, and low-maintenance. For wall applications, ceramic, glass, marble, and porcelain can all work well depending on the look you want.
Can I install herringbone tile myself?
A simple backsplash may be manageable for an experienced DIYer, but herringbone is harder than a straight tile layout. Floors, showers, marble, glass, and large areas are usually better handled by a professional installer because the pattern requires precise cutting and alignment.
Is herringbone tile good for small rooms?
Yes. Herringbone tile can work well in small bathrooms, powder rooms, laundry rooms, and narrow kitchens. The angled pattern adds movement and can make the surface feel more designed. Light colors and matching grout create the most open look.
What is the difference between herringbone and chevron tile?
Herringbone uses rectangular tiles that meet at 90-degree angles, creating a broken zigzag. Chevron uses angled pieces that meet in a continuous V shape. Herringbone feels more classic and textured, while chevron feels cleaner and more modern.
What grout color works best with herringbone tile?
Matching grout creates a softer, more subtle look. Contrasting grout makes the herringbone pattern stand out more. For busy areas, medium gray or warm neutral grout is often easier to maintain than bright white grout.


